People often talk about modernising aikido, but when they do this they tend to refer to adding techniques and removing others. Very few people ever talk about the techniques used to teach aikido. The closest aikidoka come to that is discussing free-style sparring. Some are against it, others just go ahead and do it. This blog post will introduce a new way to teach your students the irimi entry.
The Problem
At some point in their training every aikidoka will have been told to “go forward”. For a sensei to get a student, especially a beginner, to step forwards when turning can be very difficult. There is a tendency in, say, irimi nage, to move an uke forward by circling backwards away from them. All this achieves is that the uke turns towards the nage and takes a free attack at a now helpless opponent.
Worryingly though, this failure of the irimi entry can be seen in a large number of techniques. It crops up in e.g. ikkyo, tenchi nage, shiho nage, irimi nage, kote gaeshi, to name a few. The traditional solution to the irimi entry problem is to teach irimi entry as part of each technique that requires it. Imagine though, just for a moment, that there was a better way to teach it.
The Solution
Since the irimi entry is an extremely common aspect of many techniques, it could qualify as a fundamental principle. If that’s true, then it should be possible to teach that fundamental as a separate exercise and apply that teaching to all the techniques. The result is that we teach it once, and teach it well, rather than teaching it in every single technique. This gives us the somewhat obvious question, “How can we teach it as a separate exercise?” That’s easy, we build an ‘Irimi Stick’ (™, ©, Patent Pending, etc.).
The Irimi Stick
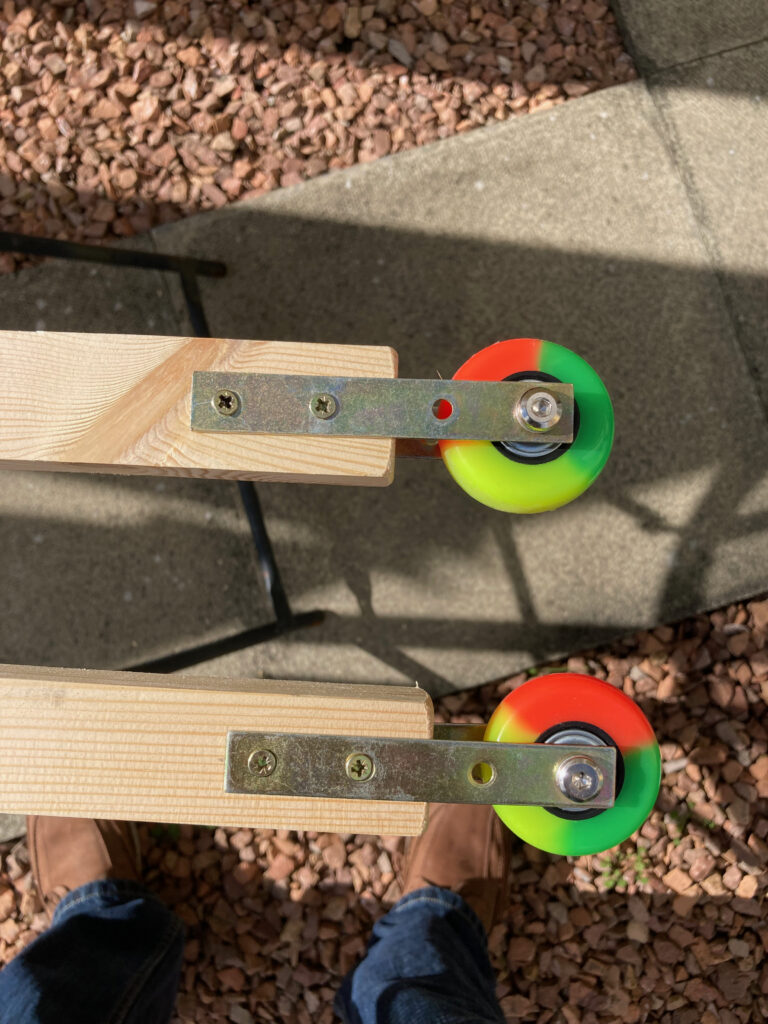
The irimi stick is a simple device designed to promote the irimi entry in all techniques. It allows a student to train irimi as a separate exercise which aikidoka can carry into their techniques. Full build instructions are given below.

How To Use
Using this to teach the irimi entry is really simple. Have a student hold it in one hand. In the other they put a finger on top of a jo. Both jo and irimi stick are held vertically. The student simply walks around the jo pushing the stick forwards. If you don’t have a jo, get them to walk around another person. Some important points:
- Both sticks should remain vertical
- The students arms should maintain their natural extension
- The students body should retain shizentai at all times
This exercise focuses on turning around a central location and promoting irimi in general movement. Removing the jo will allow for an expansion of the motions. For instance, an irimi step followed by a kaiten step will promote forwards movement while turning the hips. Some examples are provided in the clip below.
In Practice
Giving these to students in the dojo caused an interesting response. From kihon to shodan they all said it clarified the motion enormously and they requested more time to work with it. As an added bonus it was much easier to teach irimi movements to kihon students as they had a very clear frame of reference to relate to.
Build Instructions
Constructs two Irimi Sticks
Difficulty: Beginner
Build time: 30 minutes
Cost: < £20.00
Materials:
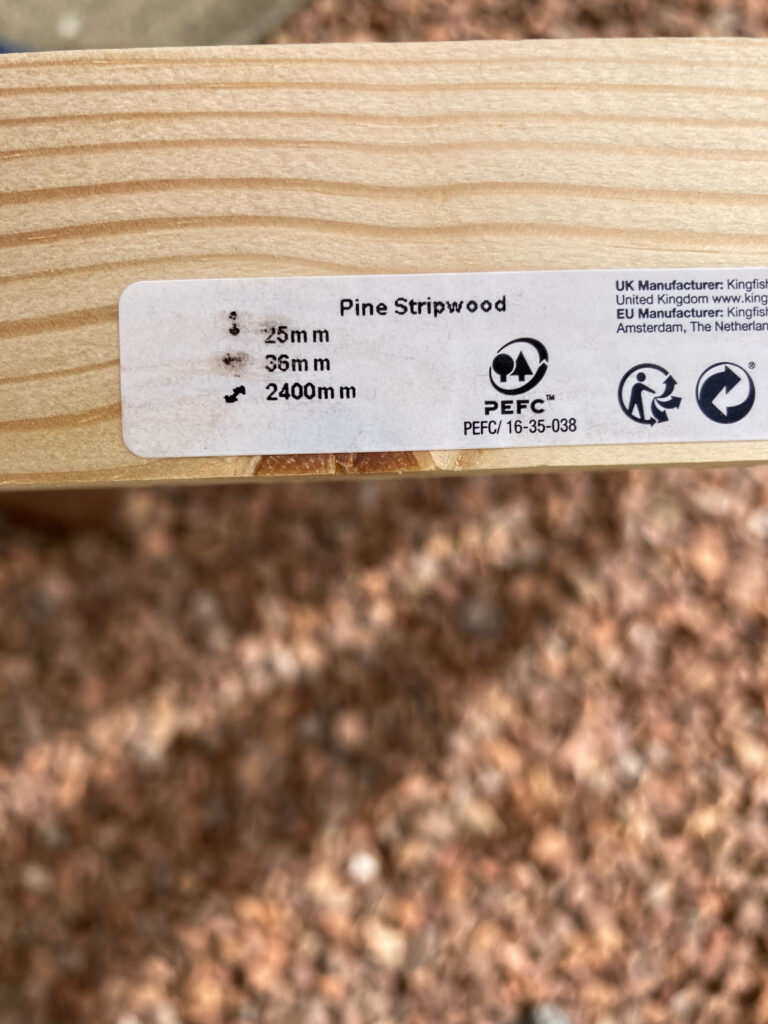
- Stripwood (2.4 m long)
- Straight mending braces x 4
- 50mm luggage wheels x 2
Tools:
- Saw
- Screwdriver
- Tape measure
- Pencil
- Sand paper
- Drill with file (may not be required)
Step 1
Assemble your materials and tools. For the wood I used pine stripwood 25mm (d), 36mm (w), 2400mm (l). After searching for wheels I settled on these ones from Amazon. Several reasons, first, I liked the colours. Second, they’re luggage wheels so small enough to work well. Most importantly though, they came with the axle parts. Most wheels did not.

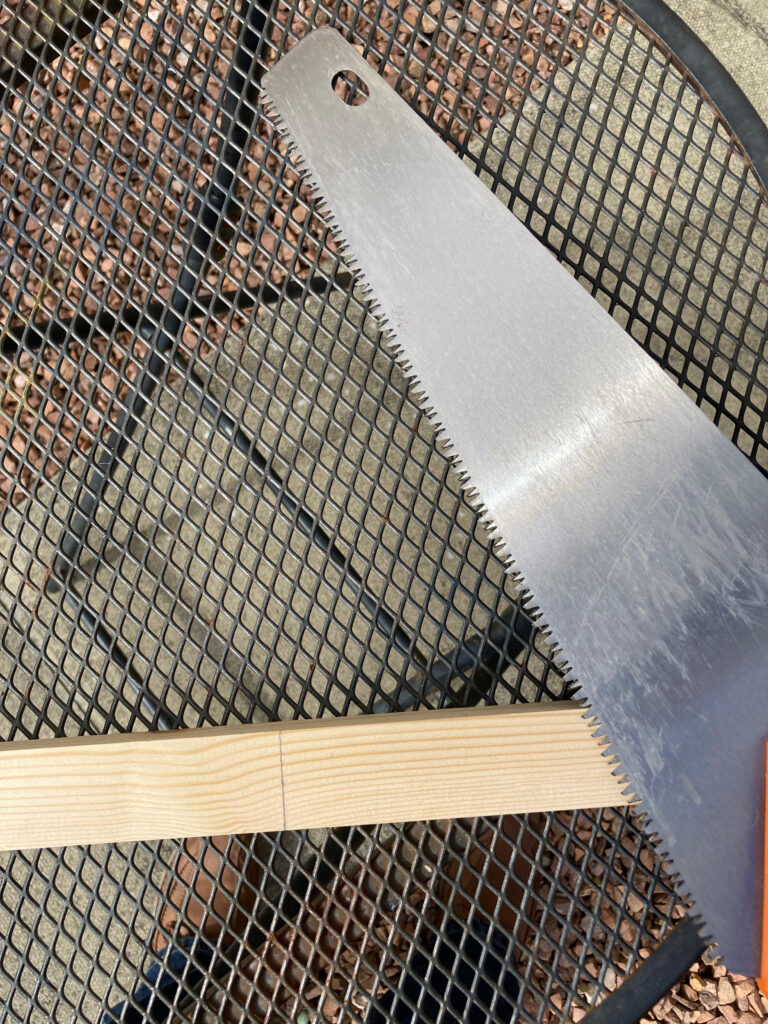
Step 2
Measure halfway along the wood and cut in half. On my build this provided a length of 1.2 metres. At this length the finished stick will fit in a weapons bag allowing you to transport it to the dojo.

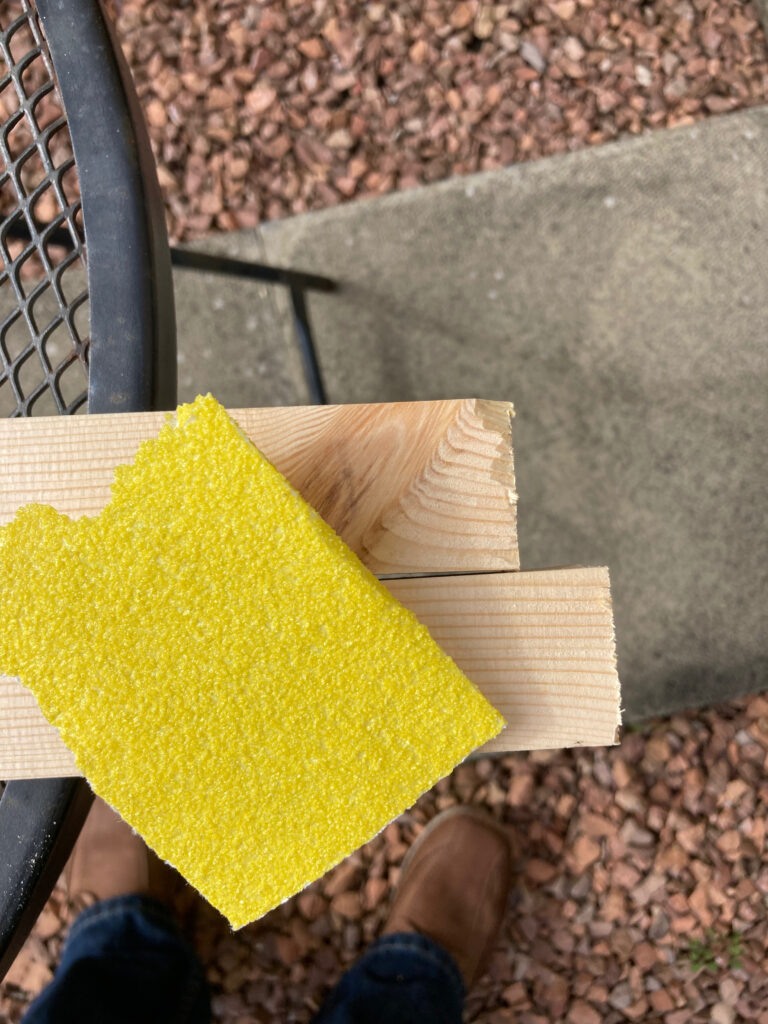
Step 3
Sand off the sawn ends to remove any rough edges. I would recommend sanding both ends of the stick to smooth everything off.
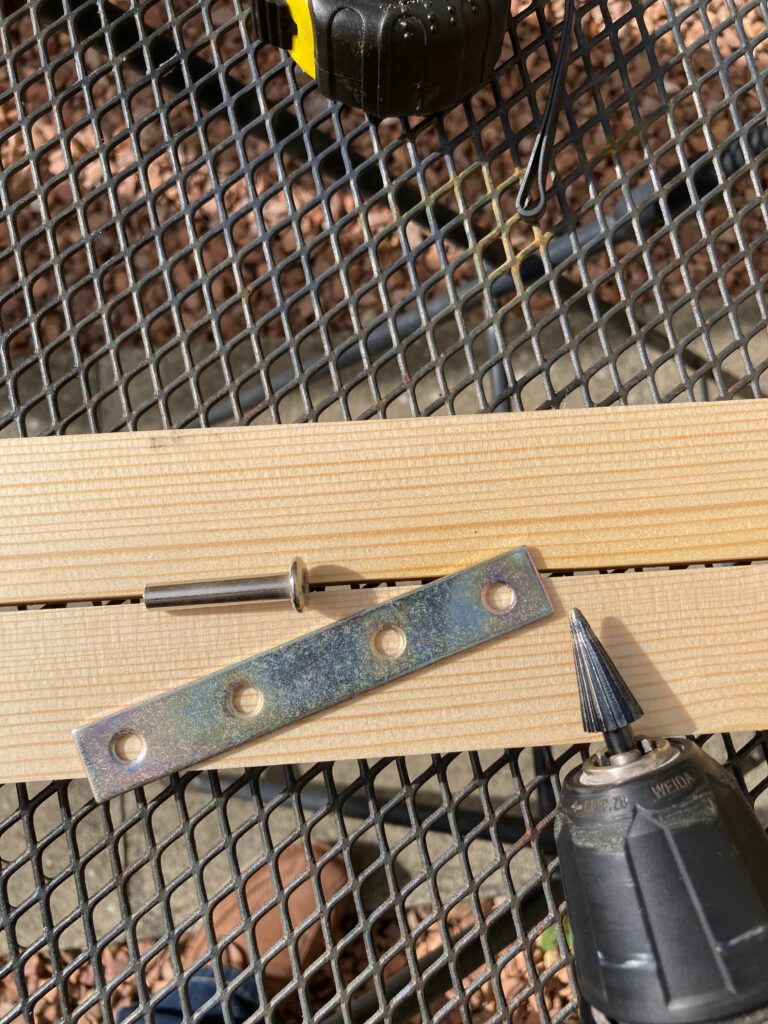
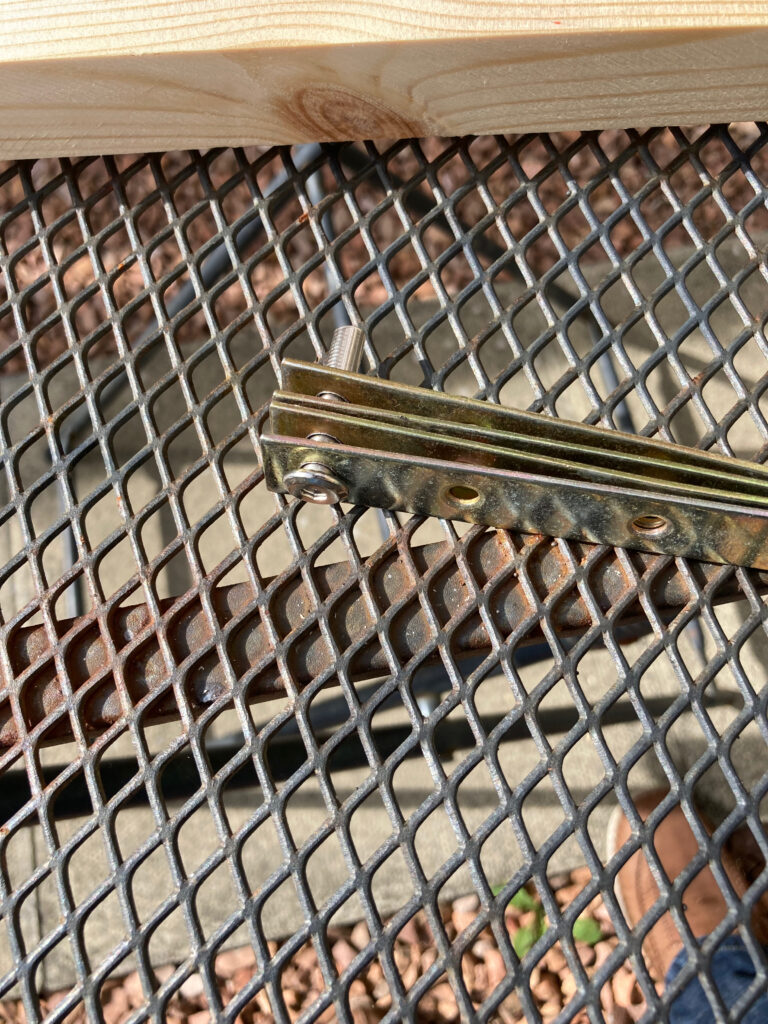
Step 4
When shopping for materials I had limited options available when it came to the mending plates. This meant that the axle bolts didn’t fit through the mending plate holes. I needed to expand the diameter of the hole on each mending plate by ~1 mm. I used a file attachment for my drill to do this.
Step 5
Assemble the wheels with a mending plate on each side.

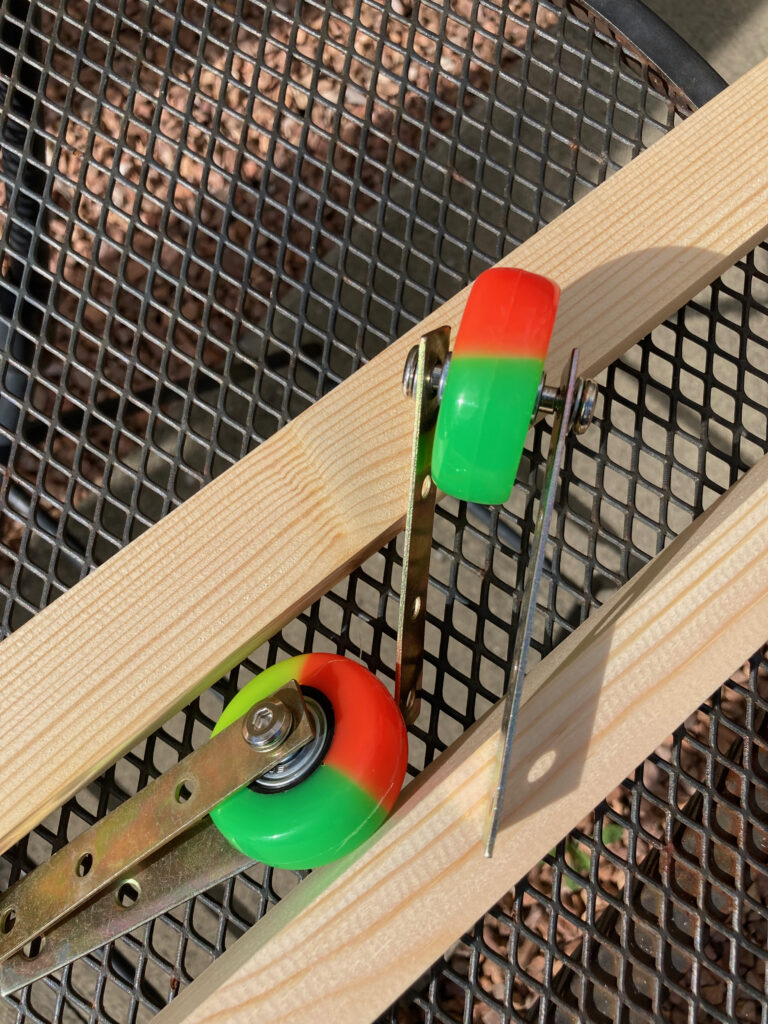
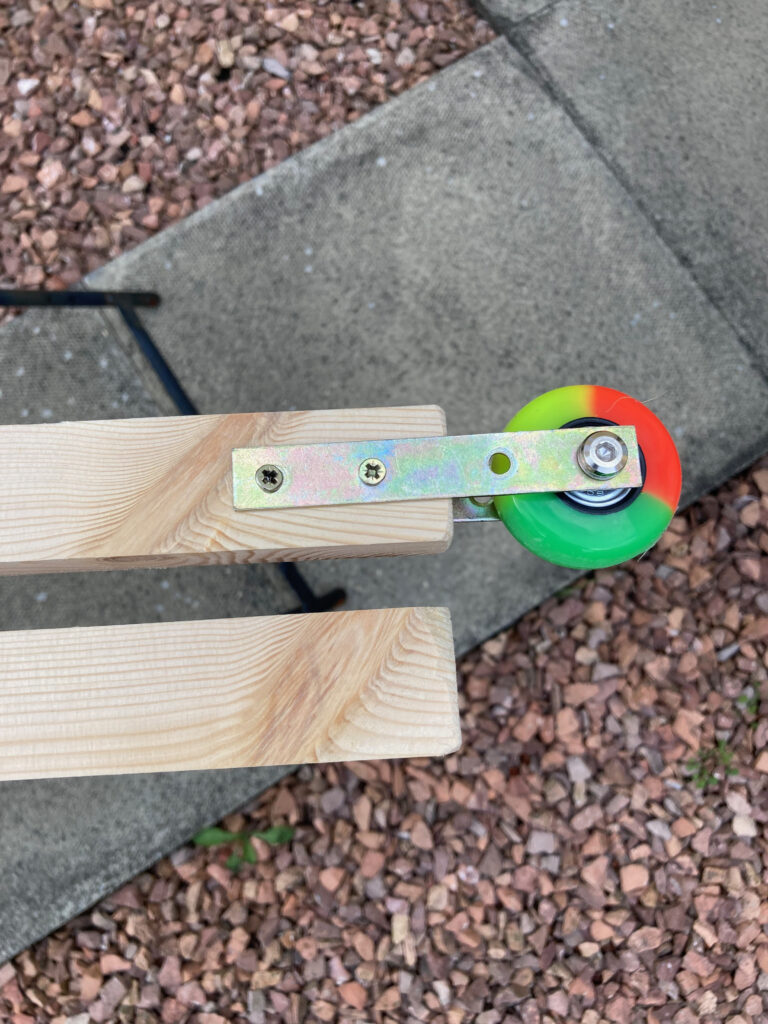
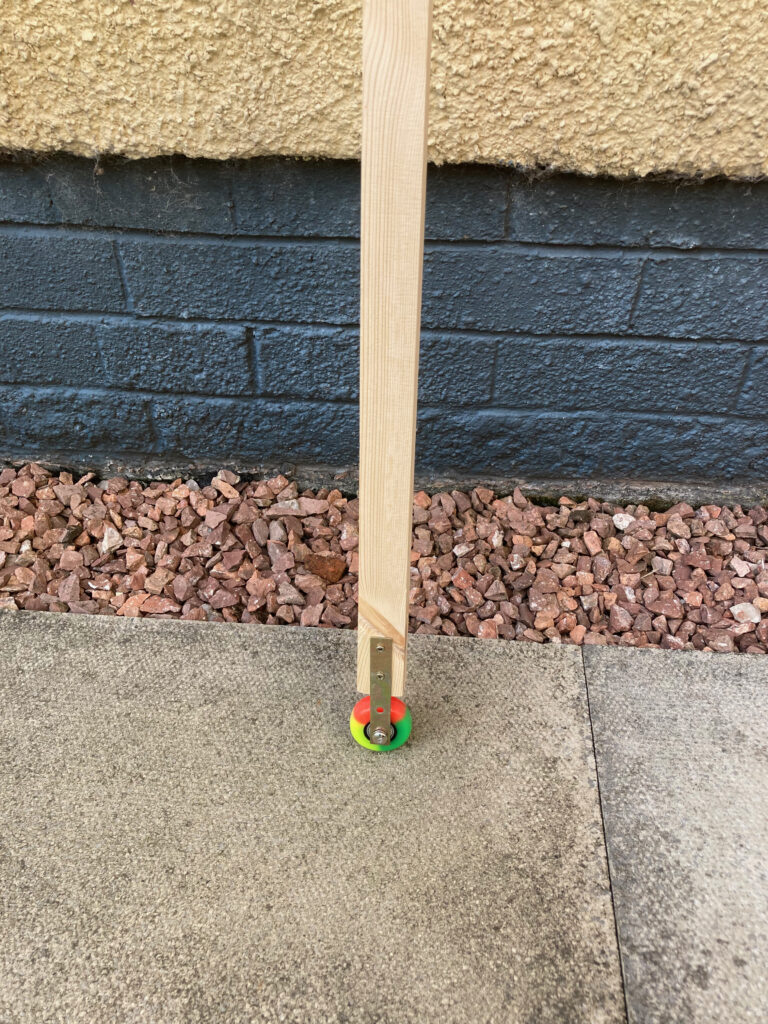
Step 6
Measure and mark out on the end of the stick where the wheel will attach. There should be enough clearance for the wheels to turn.
Note: I am not the worlds greatest carpenter. Before securing the mending plates to each side I realised that the screws were going to meet in the middle of the stripwood. To avoid this problem I angled one screw on each side so that they would miss. There may be a better way to solve this issue; however, for this build angling the screws was more than adequate.

If you can afford it, and would like to help out,
consider donating some brain fuel!
Also, if you enjoyed this post you can find further insights in this book.